I have never thought of making an entire mango cake at home as it always seems very complicated and difficult to make. However, being in lockdown, I was pushed out of my comfort zone to explore baking a cake to celebrate Mother’s Day. After searching for a recipe online, I chanced upon one that is pretty simple and made some adjustments on my own.
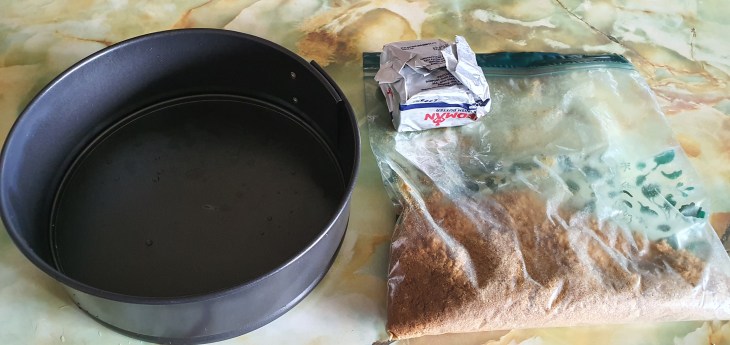
First, to make the base of the cake, you will need 25g of melted butter and 80g of finely crushed biscuits. For biscuits, you can choose to use plain digestive biscuits or Lotus caramel biscuits if you are a speculoos fan like me.
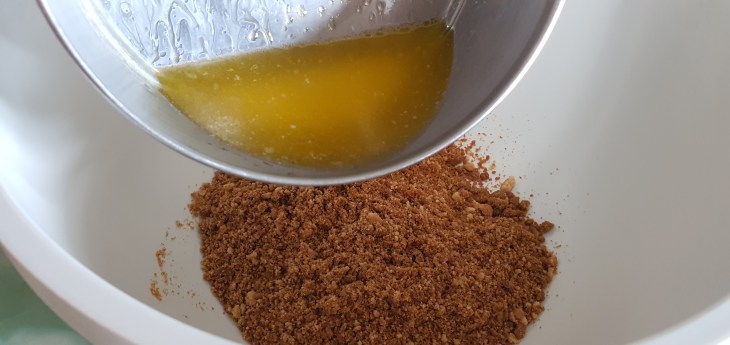
Mix the crushed biscuits with the melted biscuits to bind them together.
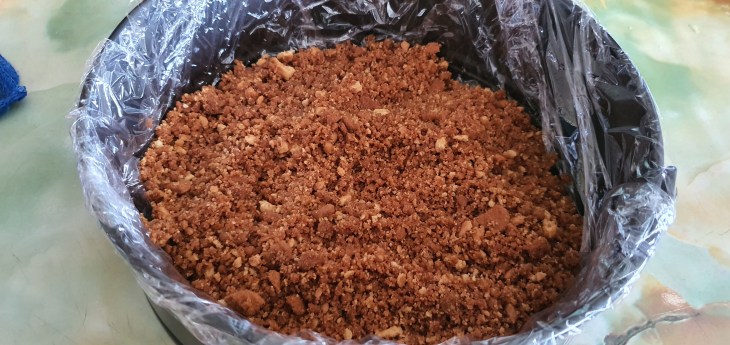
Set the crushed biscuits mixed with the melted butter into your cake pan. For easy removal, it is recommended to use a springform tin for no-bake cakes. The melted butter would bind the biscuits easily so you can press down the mixture evenly and compactly to create the base of the cake. ( I have used clingwrap in my tin as it was slightly rusty, for those with clean or new tin, clingwrap is not needed) Once you have pressed down the base, make sure the biscuits are tight and compressed, leave the tin in the fridge to standby while you prepare the rest of the cake
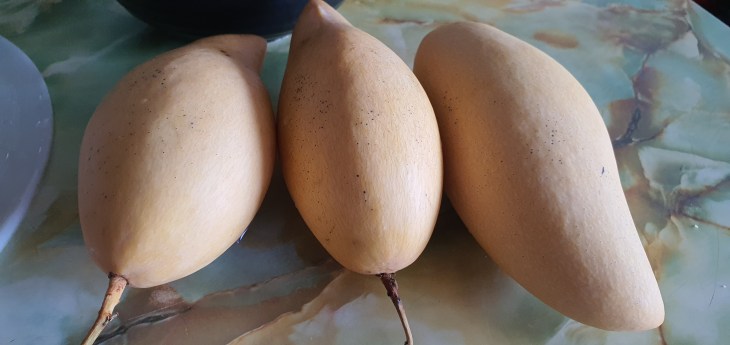
For the cake itself, you will need 3 to 4 ripe mangoes. A pinch of lemon juice, 25g of sugar, 20g of gelatin, 250ml of whipping cream.
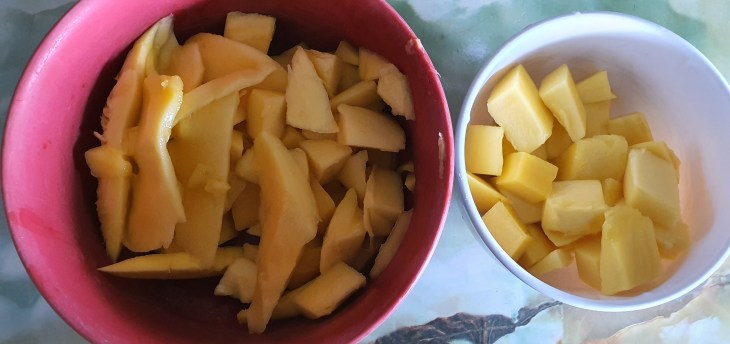
In preparing the mango, we will need some beautifully cut mango cubes for decoration ( approximately 200g) and the rest of the mangoes will be pureed ( approximately 350g)

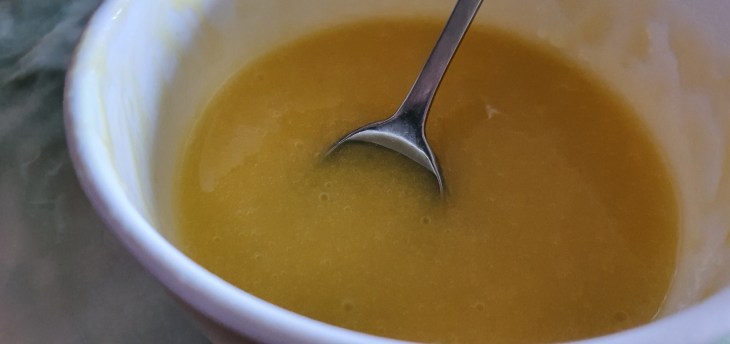
Separate the puree into 2 portions, 250g and 100g. The smaller portion is to be used for the top glaze while the bigger portion is used for the mousse cake. To the 250g mango puree, add in the 25g of sugar.
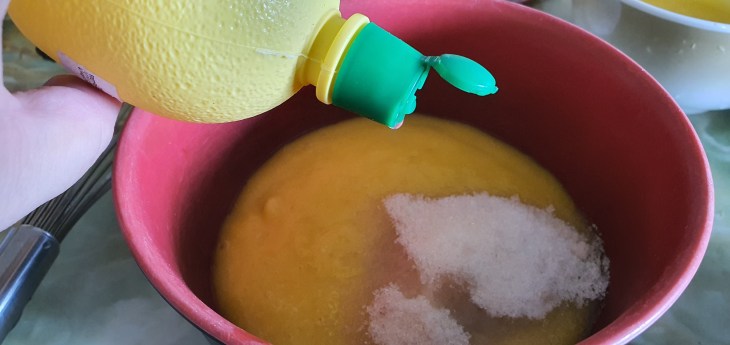
Add in the lemon juice and give the mixture a good mix.
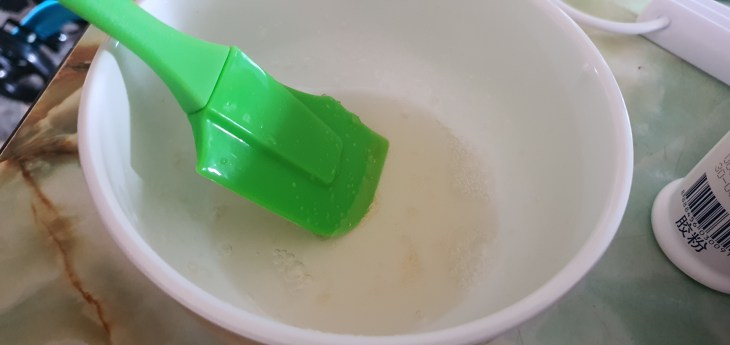
Next, melt the 20g gelatin powder in 10g of hot water until the mixture is a thick syrupy texture.

Mix the gelatin syrup into the pureed mango and leave one side to standby
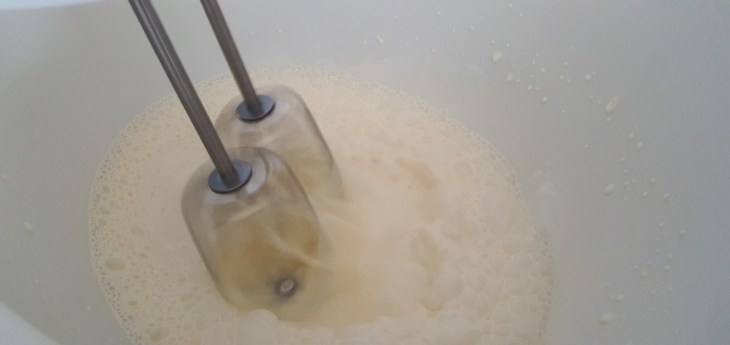
Whisk the 250g whipping cream until it is creamy and fluffy and no longer in a liquid state. Do not overbeat the cream.
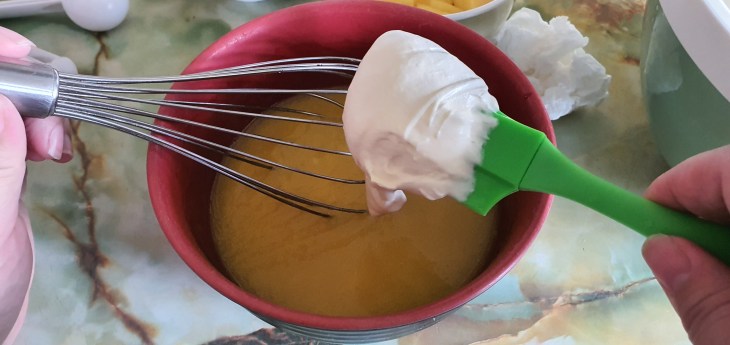
Mix in 2 scoops of the whipped cream into the mango puree and slowly mix until they are combined.
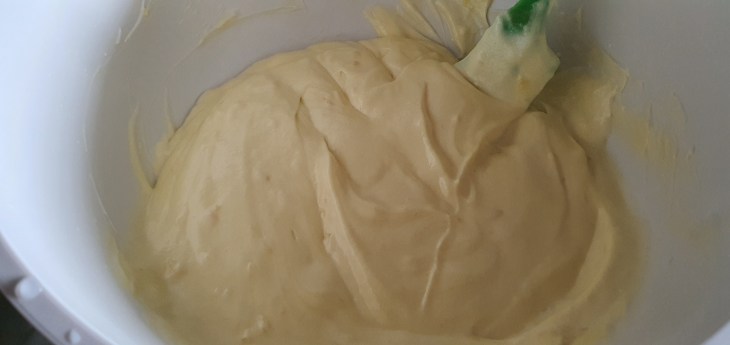
Next, fold in the rest of the whipping cream into the mango puree creating your mango mousse. Fold in softly to keep the consistency and do not over stir the mixture.
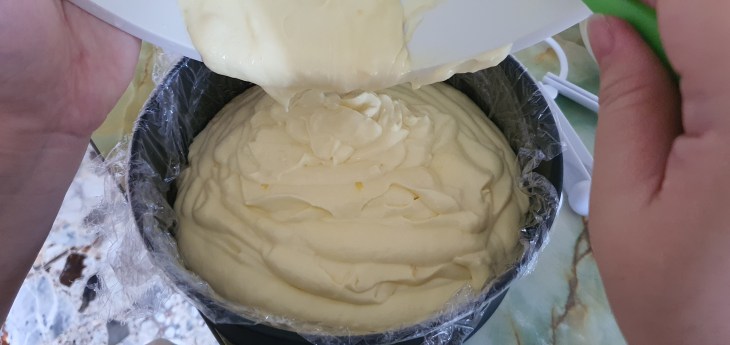
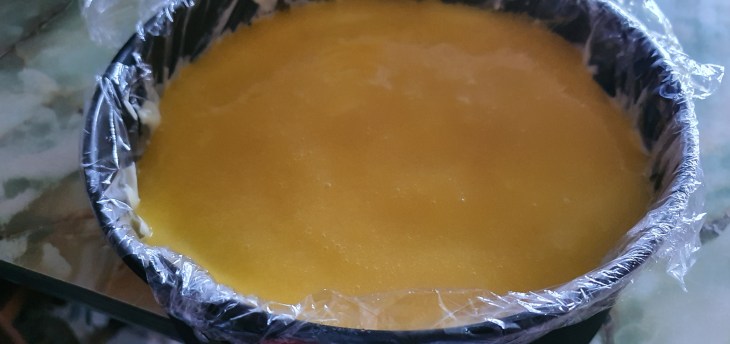
Pour the mixture into the cake tin with the base.
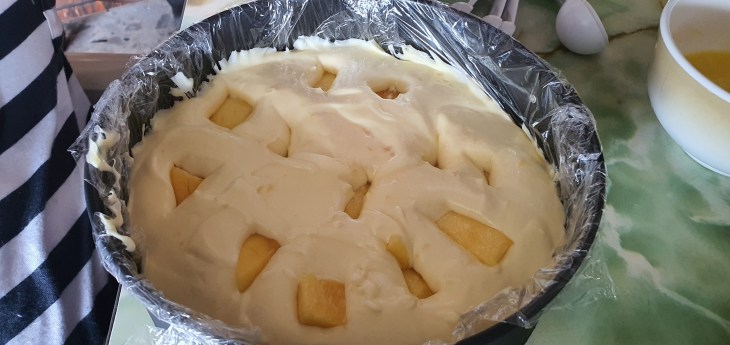
As we love mangos, I inserted some mango cubes into the mousse itself so I can get bites of fresh mango within the cake. Smooth out the mousse and you can remove any air bubbles by lightly tapping the tin on the table. Next, you will have to leave it in the refrigerator for at least 4 hours to set.
Next, just 30 mins before the cake is set the next day, you can prepare the glaze using the 100g of mango puree.
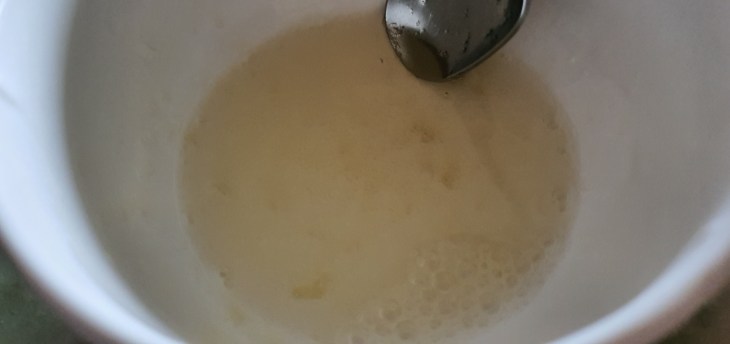
Melt 10g of gelatin powder with 5g of hot water and mix this into the mango puree
Once the cake is partially set after 4 hours, you can pour the glaze mixture on top of the cake. After this, you should leave the whole cake to set in the refrigerator to set overnight or at least 8 hours.
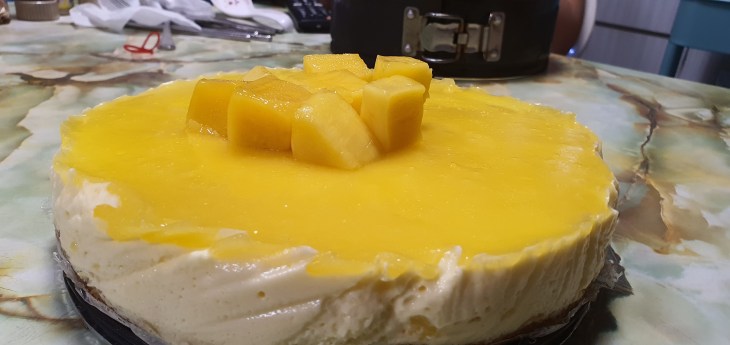
Once you remove the tin by sliding the cake upwards, you can decorate the top of the cake with the remaining mango cubes. My cake is a bit jagged on the sides due to the clingwrap as my cake did not set on a smooth surface, however, if you make it using a nice cake tin, the cake will turn out beautifully.
The cake is very light and not overly sweet and I would recommend making the cake with very ripe Thai mangoes so that the fragrance of the mango is stronger with the natural sweetness of the mango infused in the cake. Do try out as it is really quite simple to make and looks great for any occasion.
