I decided to put the Philips cooker to more test today by making a cake and clay pot rice dinner with it. I found a really simple sponge cake recipe to make it with the cooker.
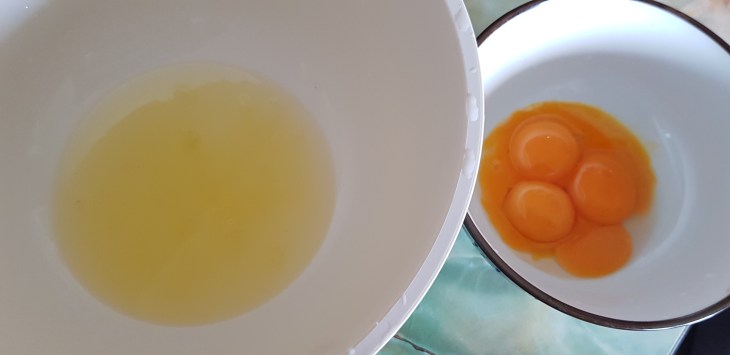
First you need 4 eggs where you separate the whites and the yolks.
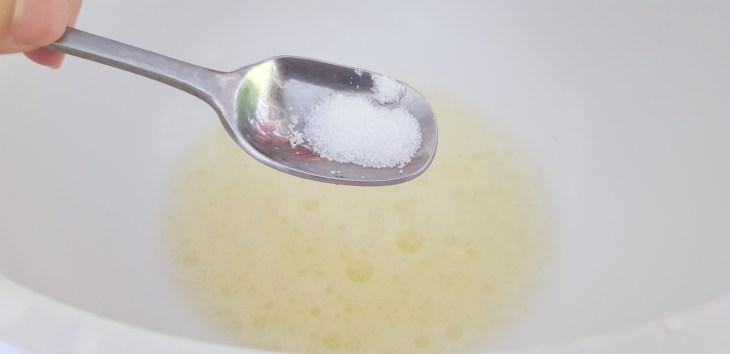
Beat the whites with a beater till light bubbles form, add a pinch of salt.

A tablespoon of sugar
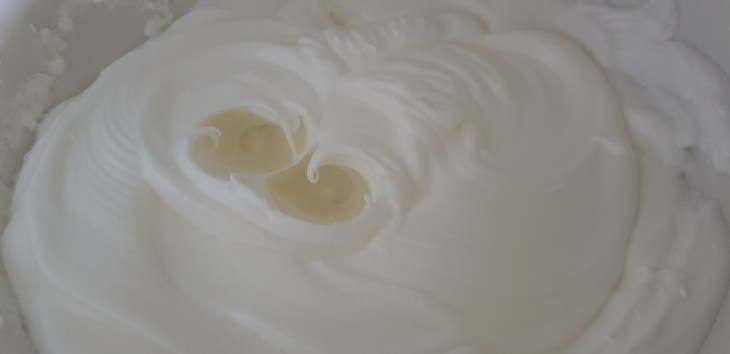
Start the whisk the whites in high speed until peaks are formed and the whites will not drip over your head.

Next to the yolks, add 2 tablespoon of sugar, 1 tablespoon of milk and 2 tablespoon of sieved plain flour.
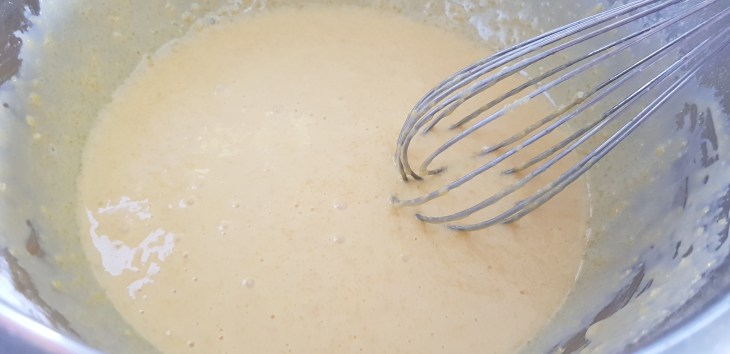
Whisk it until all the fry ingredients are incorporated and mixed with the wet ingredients.

Next fold half of the whites into the yolk mixture slowly. Do not let the air escape the whites.
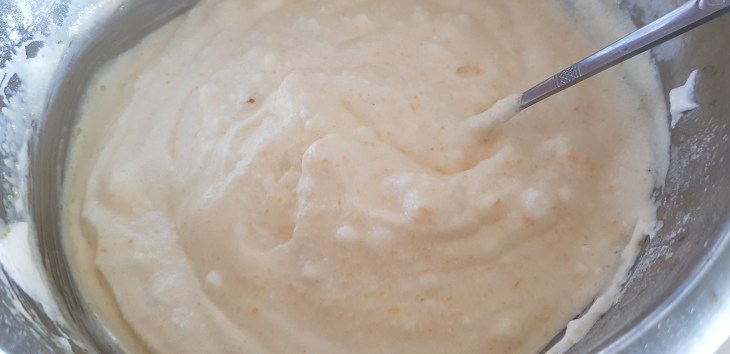
Next, fold all the remaining whites into the mixture. The final mixture should still be fluffy and light.

Pour the mixture into the cooker pot and put on the cake program. It will take about 90 mins to bake.
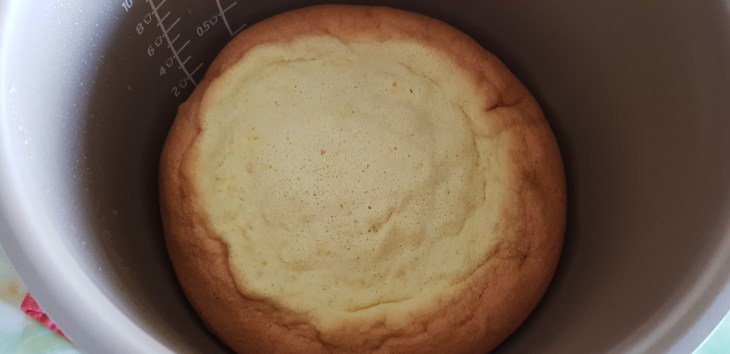
The cake is lightly risen and the sides are all baked to golden brown.
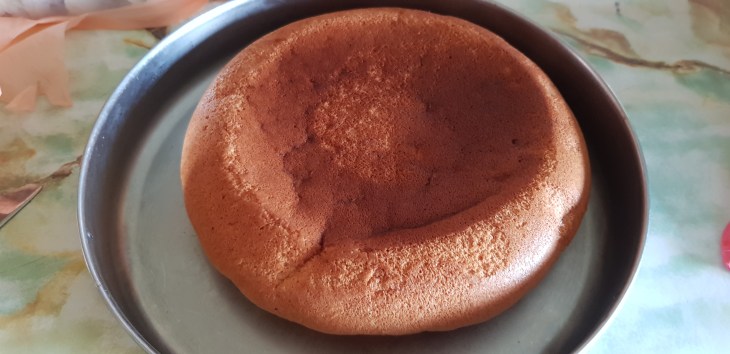
Remove the cake and let it cool

The cake is generally quite fluffy and light except the centre which did not rise enough. I like the baked taste of the skin of the cake. I would recommend to try self raising flour he next round for a better risen cake and also leave it in the cooker for a slightly longer period. This cake program for the cooker worked quite well although I would like to test different recipe with it.

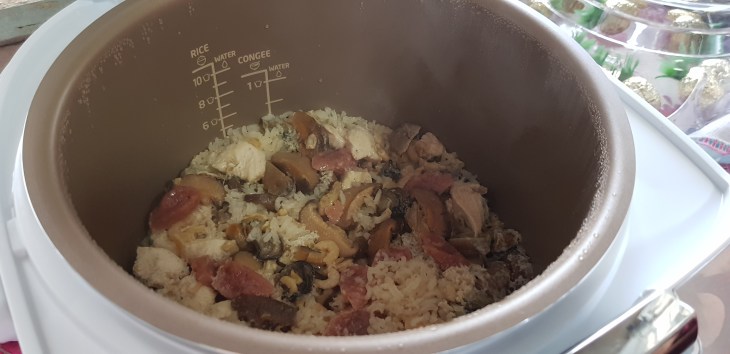
Next I tried the clay pot rice mode. I used 1 cup of rice and followed the water quantity as instruction in the pot. I added shredded soaked Chinese mushrooms, 2 sticks of Chinese sausage, 1 tablespoon of soaked dried shrimps, 1 piece of chicken breast meat cut into chunks and 8 soaked dried Chinese oysters. Before adding the ingredients to the rice and water, I mixed the ingredients with 1 tablespoon of oyster sauce and chicken stock flavouring.

With all the raw ingredients and rice dumped into the pot, just press the clay pot rice program and wait for 90 mins.
Once the alarm goes off, put in 1 tablespoon of Chinese white wine to improve the taste of the clay pot rice and close the pot and leave it on keep warm mode.

Before eating, add in dark soy sauce, sesame sauce and pepper to achieve the look in the picture. It generally looks just like the ones sold outside. I find that the cooker did a fantastic job with the clay pot rice except that the rice is a little too soft. The chicken meat was also a little dry. For the next improvement, the suggestion is to reduce the water slightly since some of the ingredients release moisture, add a little bit of oil in the rice before cooking and only add the breast meat after 30 mins has past. Overall, I still think it did a good job as it is totally fuss free. Once I threw everything into the cooker, I could free up time to do my own stuff and before I knew it, dinner is ready.
